Pathfinding in Rust - Part 1 - Setup
In this series my goal is to implement various pathfinding algorithms on a 2D grid, and bundle them up into a neat little program to run, test and tweak their parameters live as they run. This post will just cover the initial setup.
For this series I’ll be using Macroquad as a rendering/window engine.
Starting a window
With Macroquad, starting a window is extremely easy:
use macroquad::{
    color::BLUE,
    window::{clear_background, next_frame},
};

#[macroquad::main("pathfinder")]
async fn main() {
    println!("Hello, world!");
    loop {
        clear_background(BLUE);
        next_frame().await;
    }
}
The Building Blocks of Pathfinding
Pathfinding needs a coordinate system to use as a backbone. Pathfinding can be done with various types of grids, using meshes, or even in 3D.However, the simplest pathfinding is done with a 2D grid, so that’s what we’ll start with here.
In a 2D grid, any entities position can be expressed by an x and a y coordinate, so I’ll create a simple struct to hold these values:
pub struct Position {
    pub x: i32,
    pub y: i32,
}

impl Position {
    pub fn new(x: i32, y: i32) -> Self {
        Self { x, y }
    }
}
Next, we’ll need a Map object, to store the limits of our grid, and which grid spaces are solid or not:
pub struct Map {
    width: i32,
    height: i32,
    tiles: Vec<bool>,
}

impl Map {
    pub fn new(&self, width: i32, height: i32) -> Self {
        Self {
            width: width,
            height: height,
            tiles: Vec::new(width * height),
        }
    }
}
You may notice I’m using a 1 dimensional array to hold a 2 dimensional array. I like this strategy because it avoids having to deal with 2 dimensional arrays and all the complexities that come with them. With this approach, we can thing of flattening the grid out, and placing the tiles row by row into the 1D vec.
The main trickiness comes with the ‘indexing’ functions, but they aren’t too bad.
    fn index(&self, x: i32, y: i32) -> usize {
        (y * self.width + x).try_into().unwrap()
    }
    fn unindex(&self, index: usize) -> Position {
        Position {
            x: (index_i32 % self.width).try_into().unwrap(),
            y: (index_i32 / self.width).try_into().unwrap(),
        }
    }
Rendering
We now have an absolute barebones map. Let’s see if we can start rendering it. I’m going to do my best to keep the game data and logic code totally separate from the rendering code. The rendering code should be able to take in the current game ‘world’ as an argument, and render it accordingly.
We’ll start by creating a render function, moving the clear background call into it, and calling the render function from the main loop:
render.rs
pub fn render(map: &Map) {
    clear_background(BLUE);
}
main.rs
#[macroquad::main("pathfinder")]
async fn main() {
    let map = Map::empty(8, 8);
    loop {
        render(&map);
        next_frame().await;
    }
}
Now we can create a function to render the map. To start with, let’s see if we can render each empty tile as a solid white 32x32 square, and each solid tile as a black 32x32 square.
For the renderer to render the map, it needs to access the internal tiles array. However, I want to keep tiles encapsulated an an internal detail of the map struct. So I’ll add an iter() function to the map that acts as a pass-through mechanicsm to the tiles iterator.
    pub fn iter(&self) -> Iter<Tile> {
        self.tiles.iter()
    }
We can then access the map tiles in our render function like so:
fn render_map(map: &Map) {
    for tile in map.iter() {
        println!("solid={}", tile.solid);
    }
}
I realized I never initialized our vec of tiles, so let’s make some changes to the Map::empty() method to do so:
    pub fn empty(width: i32, height: i32) -> Self {
        let size: usize = (width * height).try_into().unwrap();
        let mut map = Self {
            width: width,
            height: height,
            tiles: Vec::with_capacity(size),
        };
        for y in 0..height {
            for x in 0..width {
                let index = map.index(x, y);
                map.tiles.insert(
                    index,
                    Tile {
                        solid: false,
                        position: Position { x: x, y: y },
                    },
                );
            }
        }
        map
    }
And finally, let’s add some rendering code. With Macroquad, getting some pixels up on the screen is super easy!
fn render_map(map: &Map) {
    for tile in map.iter() {
        let color = match tile.solid {
            true => BLACK,
            false => WHITE,
        };
        let x = (tile.position.x * PIXELS_PER_TILE) as f32;
        let y = (tile.position.y * PIXELS_PER_TILE) as f32;
        let w = PIXELS_PER_TILE as f32;
        let h = PIXELS_PER_TILE as f32;
        draw_rectangle(x, y, w, h, color);
        draw_rectangle_lines(x, y, w, h, 1.0, GRAY);
    }
}
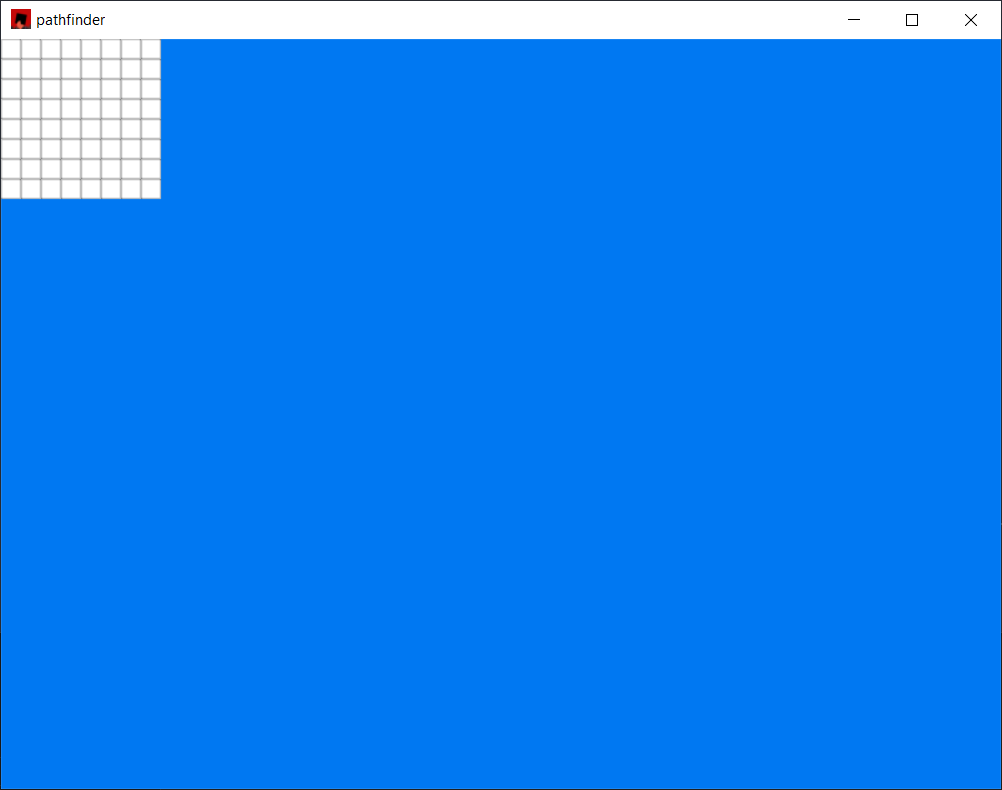
And boom, we have a blank grid to start with!

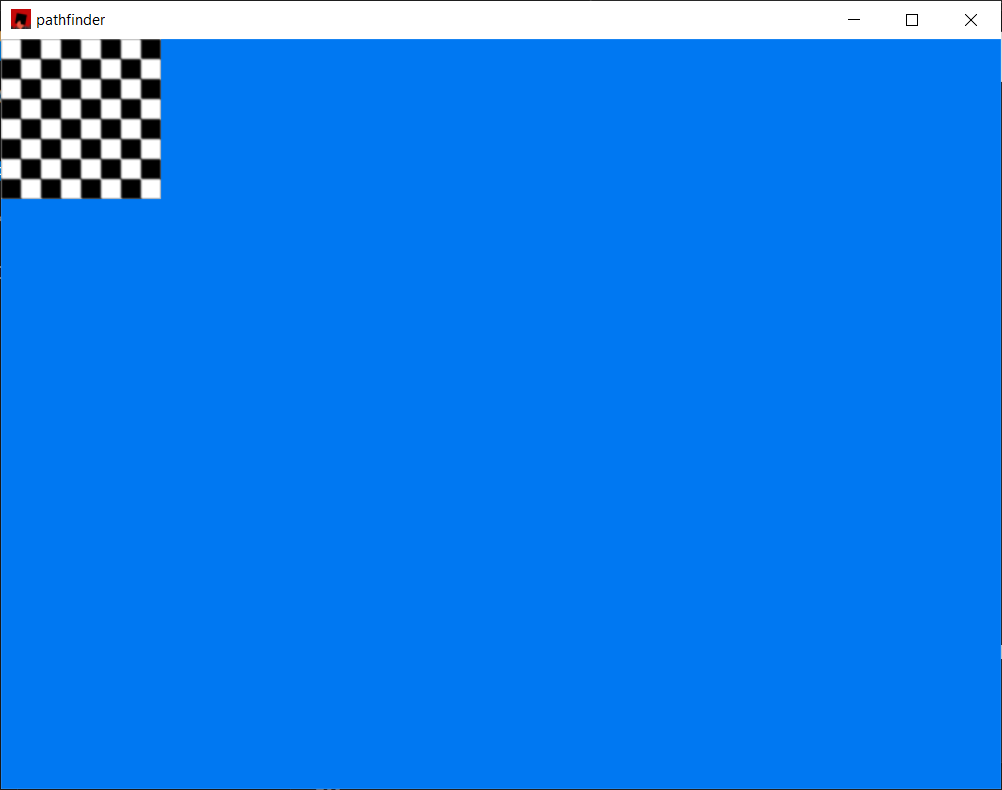
Let’s test if our code to render solid tiles as black works as well. I used some modulus division to alternate black and white tiles.
   pub fn checkerboard(width: i32, height: i32) -> Self {
        let size: usize = (width * height).try_into().unwrap();
        let mut map = Self {
            width: width,
            height: height,
            tiles: Vec::with_capacity(size),
        };
        for y in 0..height {
            for x in 0..width {
                let mut solid = x % 2 == 0;
                if y % 2 == 0 {
                    solid = !solid;
                }

                let index = map.index(x, y);
                map.tiles.insert(
                    index,
                    Tile {
                        solid: solid,
                        position: Position { x: x, y: y },
                    },
                );
            }
        }
        map
    }

Looks like it works! Next time we should have everything we need to start pathfinding!